Replacing another wall
On Sunday, Sept 4th, we worked on framing up the doorway to the bathroom, and getting things ready for building the other wall section the next day. It’s not the type of project you want to start unless you have enough time to get it finished the same day (been there, done that LOL!)
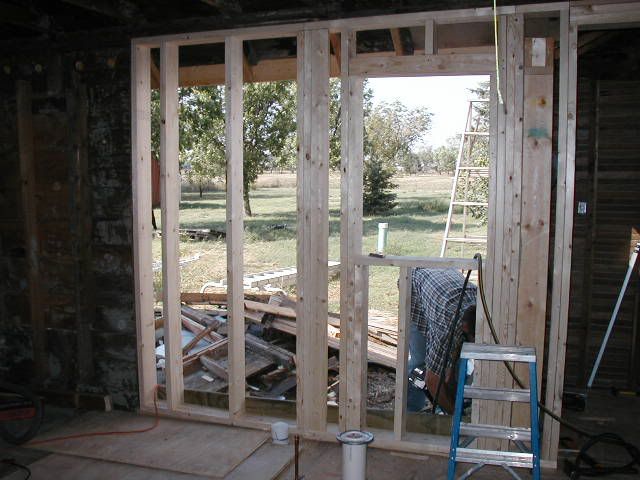
We got up early, and by 8:30 that morning, we had the old wall out. We saved the old kitchen window; it’s stored in my shed right now.
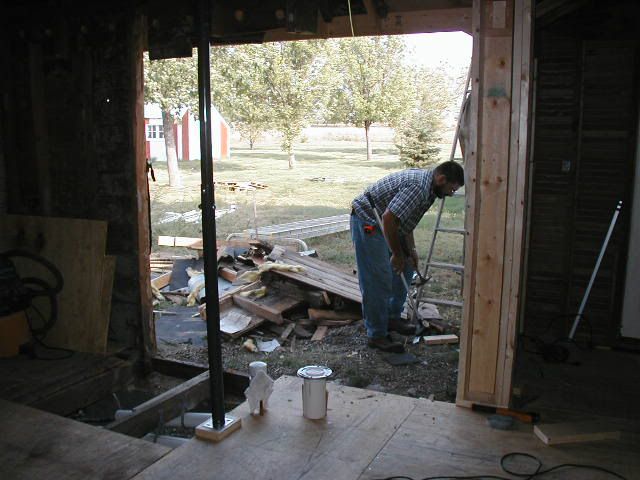
We cleaned off the cement sill, and hubby drilled some holes for anchor bolts (notice there weren’t any). This may look very strange, but the house was balloon framed, which means the walls go all the way to the foundation, and the floors are built inside them. We did nail the new end joists to the floor joists. The floor joists are supported by blocks just out of sight under the plywood flooring.
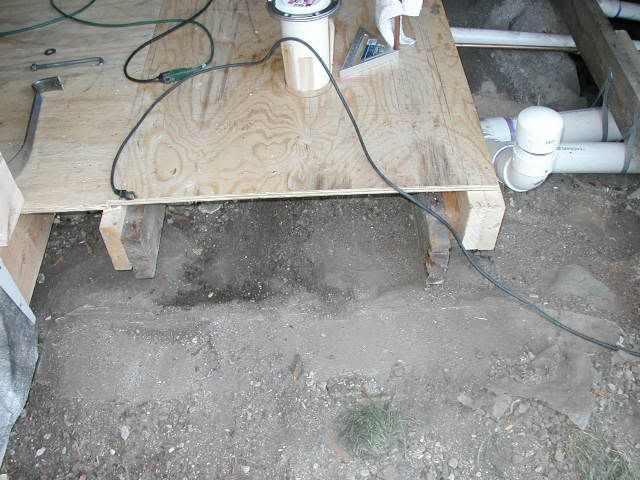
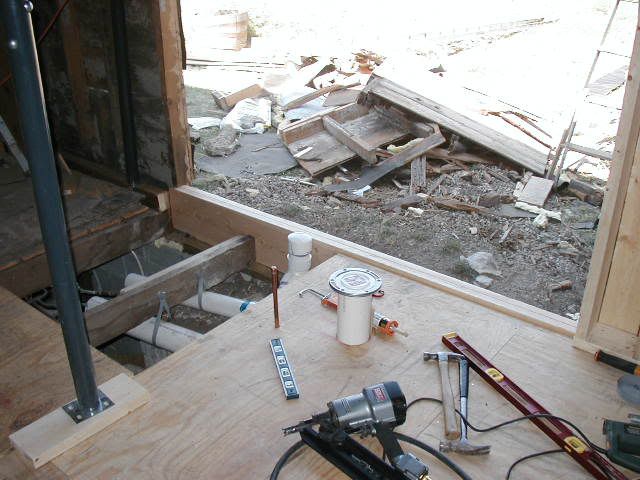
It’s a good thing, because we had not planned on replacing the wall at the time we put in the floor. Decided later that it would be the best way to deal with the problem. Got the new sill and end joist in. The old wall was 2x4 and the new one is 2x6, so the new wall overlaps the floor a bit. Had we planned on replacing the entire wall to begin with, we would have done the floor a bit differently. It still worked out fine.
We built the wall in two sections. This was for two reasons – 1. It’s easier, and 2. This is where the divide between the old structure and the part added to connect it to the second structure happens. As it turns out, the wall going toward the second structure is not level along the top, and they sloped it a bit to tie into the second structure. Going the other way it is level. We don’t believe in toe nailing unless there is no other option, so we made two wall sections with different heights.
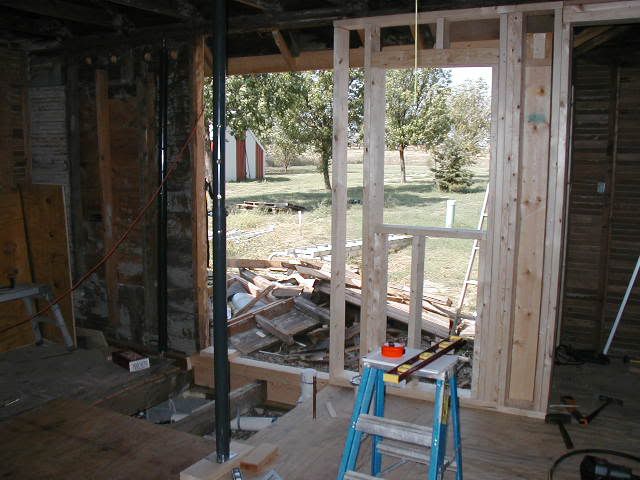
The first one went in pretty easy, as we had room to slide it into place, but we had a time with the second. We ended up using the support post and cranking it up enough to get the wall in place, and then lowered the roof back down. We only needed about 1/8” clearance so that worked fine. Sure was glad when the wall was in place. We planned on replacing the rest of the wall at a later date. But that had to wait (like so much else) until the new bath was done and the old bath was removed. We expected we'd have it done before it got seriously cold. A north wall with no insulation and a lot of holes is not a good idea for South Dakota in the winter.
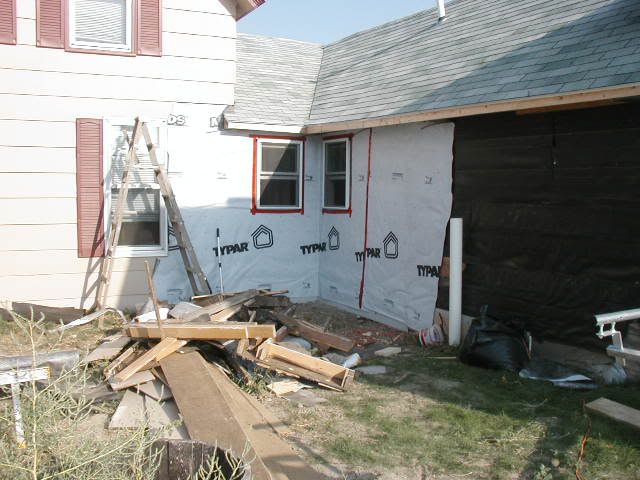
We installed the window
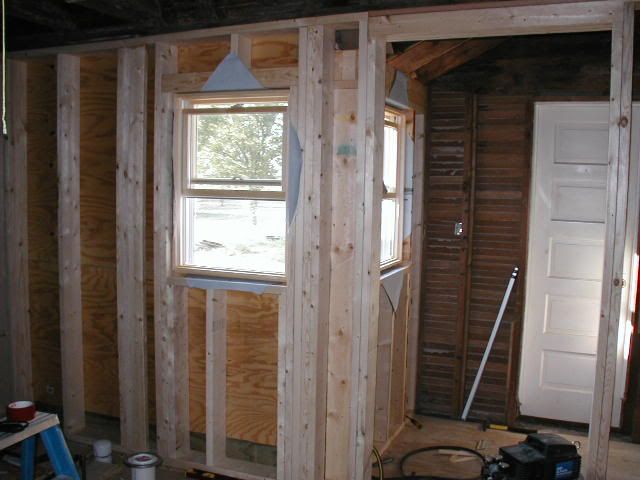
And closed it up on the outside (ok, we closed it up and THEN installed the window, but I like the pictures in this order better.)
Now we could get to work on building the bathroom walls. That part was easy, and we had them up before the next weekend.

Had to put the tub in place before putting up the last wall or we would never get it in the room.
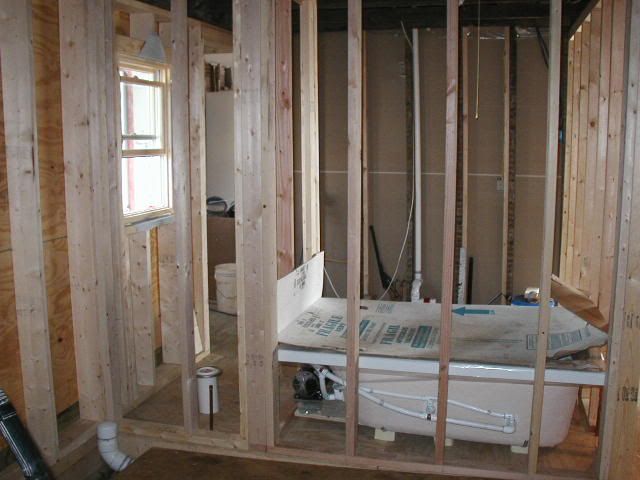
With the walls up, the next step was the ceiling.

