Please refer to the Archive note to the right. It explains what posts are where. The link to "2006 and Current Stuff" goes to Two Silos Farm, where I have posted since January 2006 to current. Those posts were written as the work was progressing.
Cathy ¶ 7:14 PM 0 comments
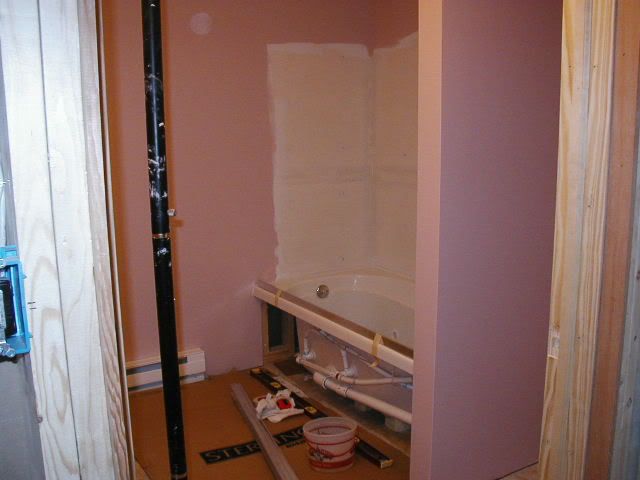
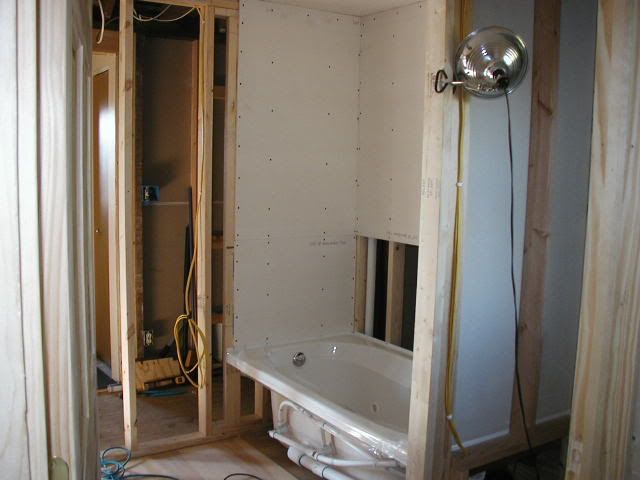
Wednesday, October 26th, I got up early and went to work. The first thing was installing the frame for the shower door. I planned on using the side rails as stops for the tile. Here’s the tub with the base rail installed.
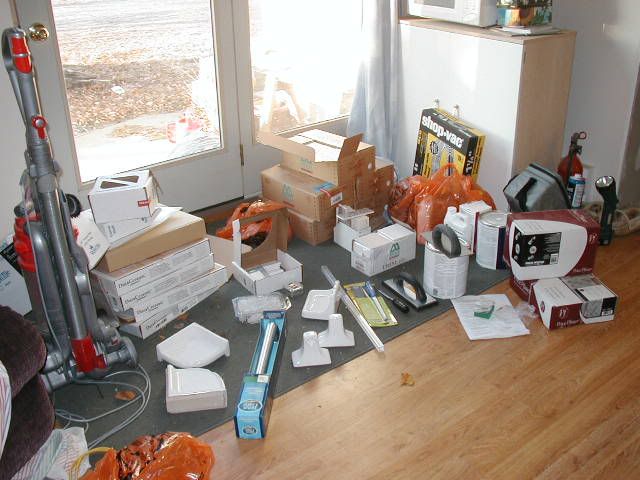
Best way to start any project is to lay out everything you think you may possibly need. That way you won’t have to be looking for it later on.
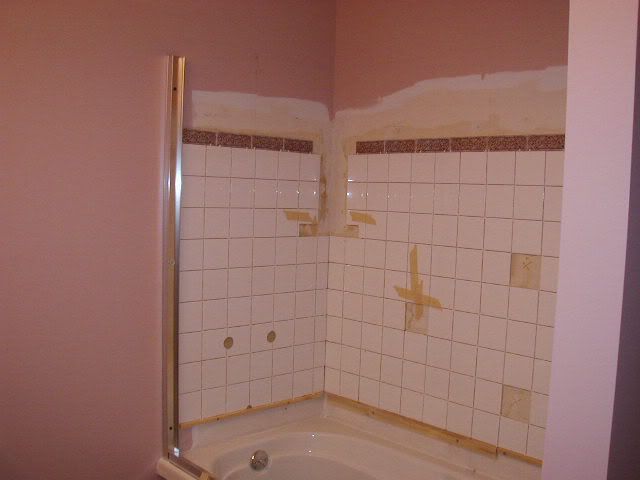
Then I put up the side rails, and starting getting ready to set tiles. I installed an edge board to keep the first row level.

And here is what it looked like 12 hours later.
I used my rotozip to cut the tiles. I got the tip to lay the tiles on sheetrock to cut them. Then it doesn’t matter if you also cut into the sheetrock, and it does not hurt the special blade. I did wear out one blade by the time I was done with the project.
By Monday all the tiles were installed and ready to be grouted. I wanted the drain and hooked up in the tub before doing that messy job.
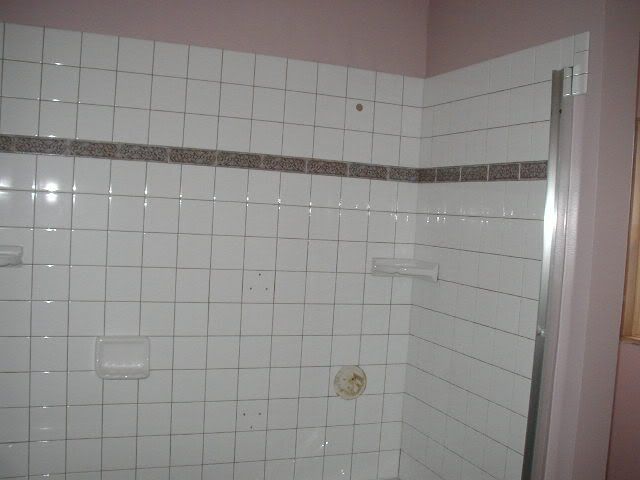
Once the grout was done and cured a bit, we were ready for the fixtures. I spent about two weeks from start to finish working on the tiles, though most of that time was letting things set up.
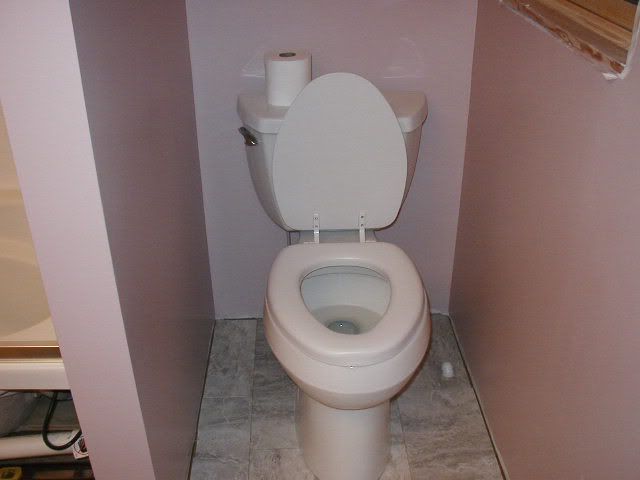
By November 15th, we finally had the toilet hooked up. Now we didn’t need to head to the other end of the house anymore.
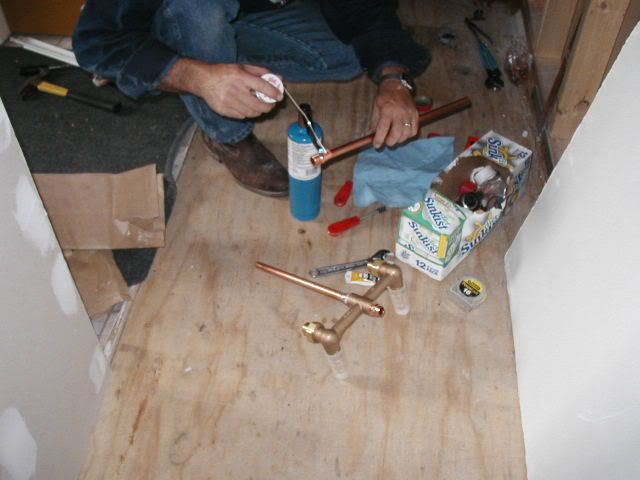
The following weekend we got to work on the fixtures for the tub. Hubby was working on the soldering.
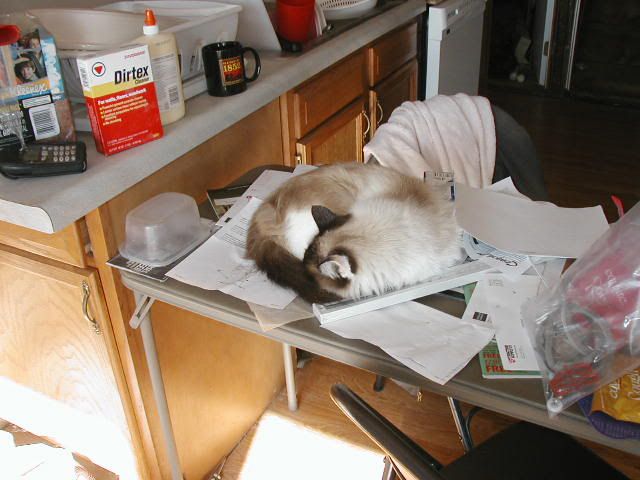
Nikki made sure the faucet wasn’t going anywhere.
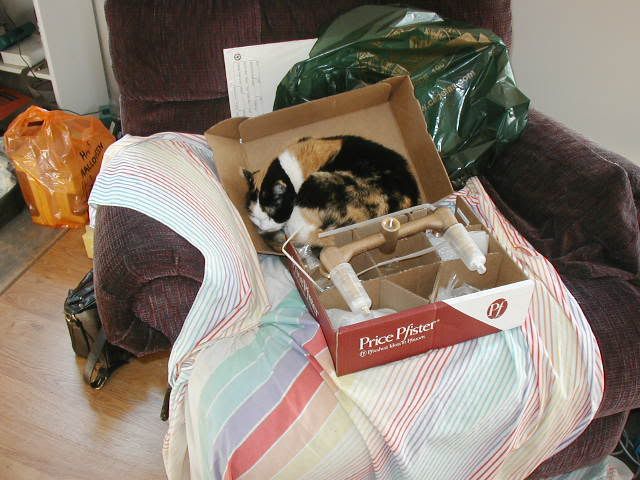
While Oliver took on the important job of being a paper weight. Didn’t want those instructions to wander off!
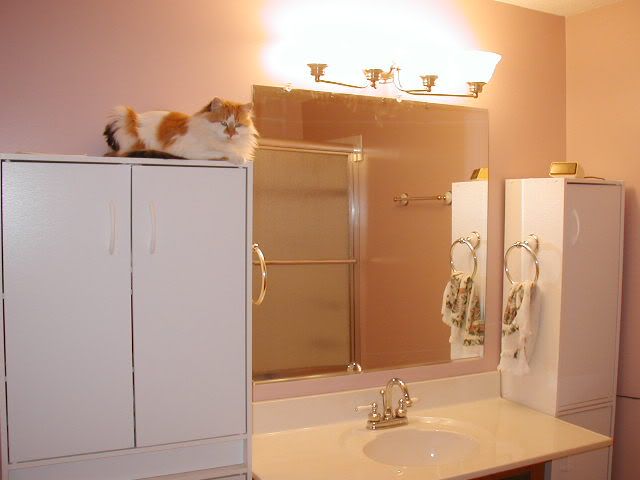
I worked on installing the light fixture and mirror.
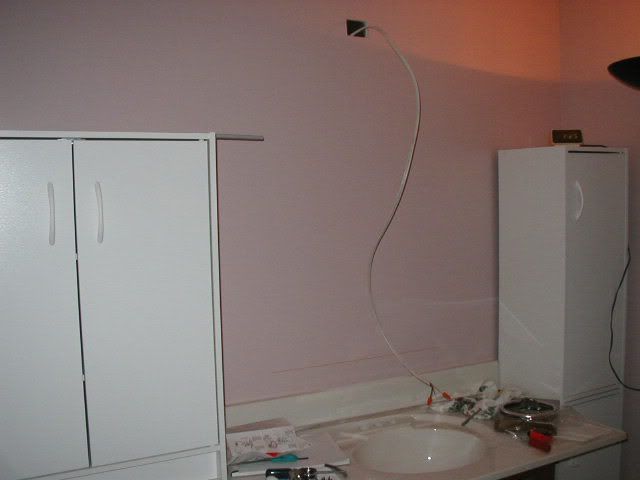
We used the old vanity out of the half bath, and some cheap cabinets for temporary use. The sink and faucet are new. Someday we’ll get the new cabinets made, but this will work for now. Anna thinks it works just fine.
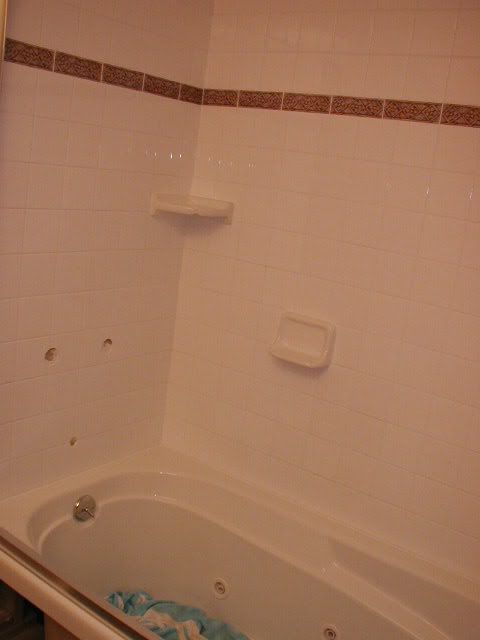
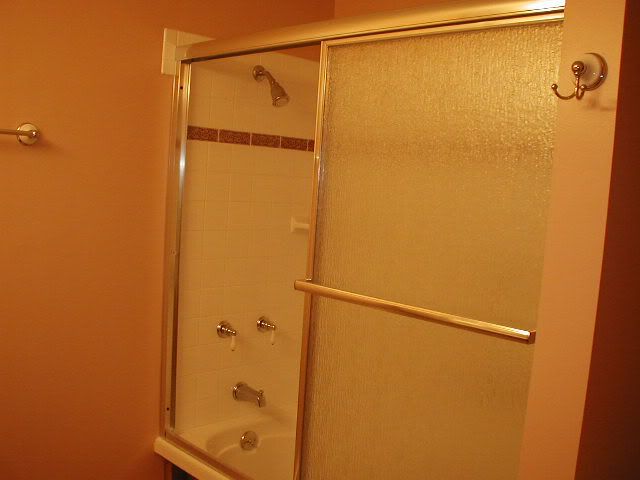
Here’s the bathtub/shower all finished and ready to be used. It has two controls and shower heads.
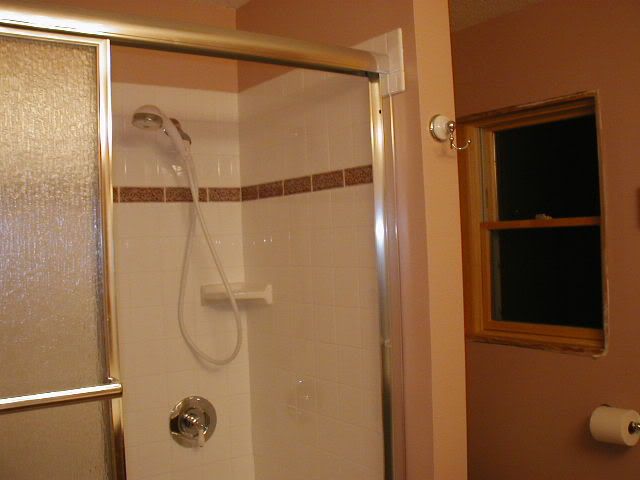
Finally, we had a fully functioning bathroom. The next step would be ripping out the old one. We had an enjoyable Thanksgiving. Deer season opened that weekend, so we spent some time on the weekend sitting in the cold without seeing anything. Sunday it started to drizzle so we spent the day inside. Relaxed and watched the rain coming down.
By Sunday evening, the rain had turned to ice, and things looked pretty bad. The wind was kicking up and the temps were dropping. We went to bed figuring we wouldn’t be making it in to work in the morning. Around 11pm, the lights started flashing on and off. So we got up and flipped several breakers to protect the appliances. About 10 minutes later, the power went out. Well, there was nothing to do about it, so we went back to sleep. ¶ 8:12 PM 0 comments
We were now into October. I had hopes of having the bathroom done by October 1st, but with my husband not having any days off this fall, that didn’t happen. We still had a long way to go.
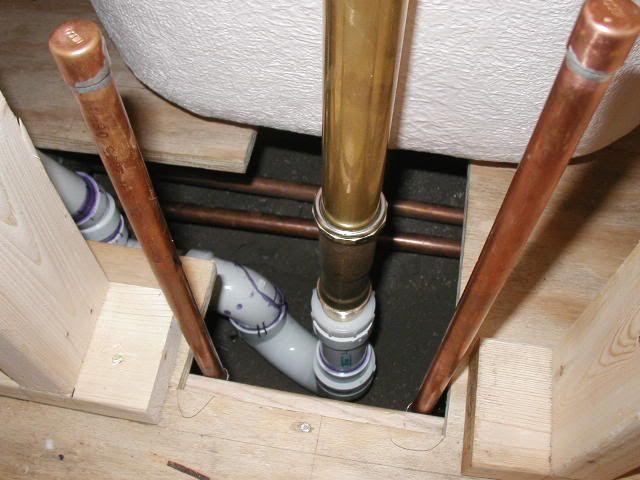
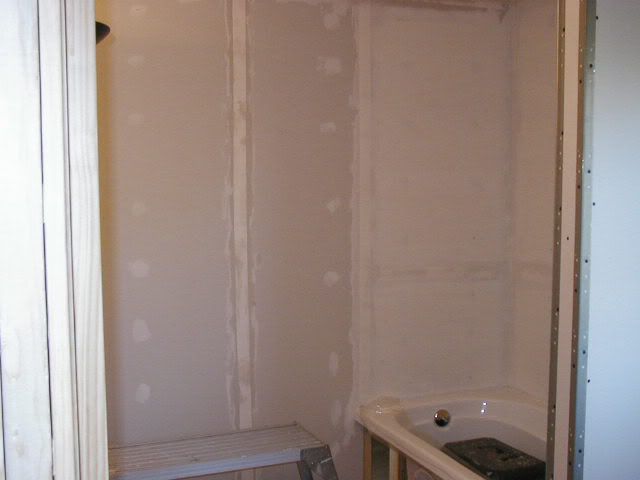
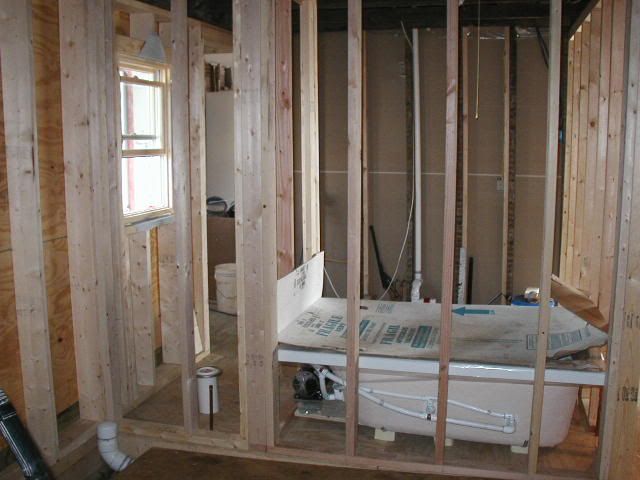
The next job was to get the bathtub installed. We used a mounting kit and attached it to the studs, and then stubbed in the drain to the old cellar. That would get hooked up when we reran the PVC after we could remove the old toilet. The water pipes would wait until after the fauctets were installed. We would not be putting sheetrock on the back of the walls for some time yet, so would have easy access.
We tried to get a little bit of work done each evening. We knew the weather would eventually turn cold, and really needed to get moving on the project.
We had loaded the water resistant sheetrock in the trailer last, so we hauled that down the basement. The next on the trailer was this new stuff (also water resistant) that was paperless for the around the tub. We put that on both the walls and the ceiling.
Then we were down to the 5/8” sheet rock for the ceiling. We rented the lift and put up the rest of the ceiling in the bathroom and the living room.
We still had quite a bit of sheetrock for the ceiling (for the hallway and the dining area). Here I got lucky, as our neighbor showed up as we were unloading it. I got to supervise while he and my hubby did the grunt work. They unloaded all the rest of the sheetrock and stacked it out of the way in the living room (the addition).
By the middle of October, we had the sheetrock up in the bathroom, and a start on taping and sanding.
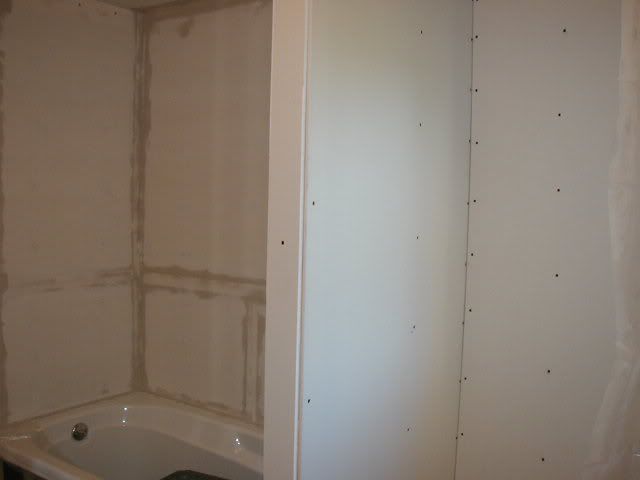
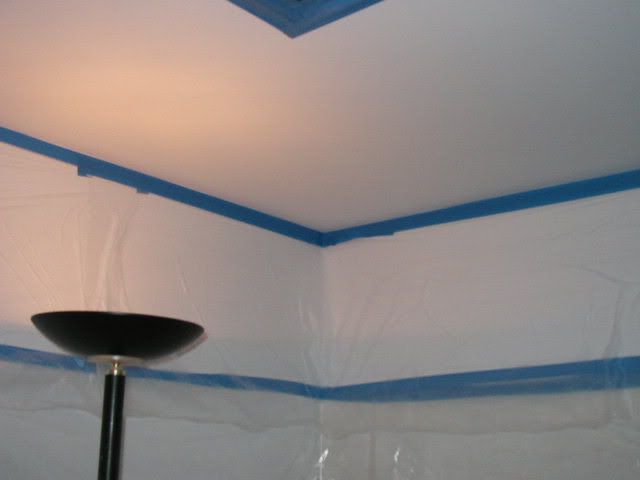
Not the most exciting part of any project, that is for sure! But it eventually got done and I could prime the room. My hubby sprays the ceilings. Once it’s all primed, we hang plastic and tape around what we don’t want sprayed.
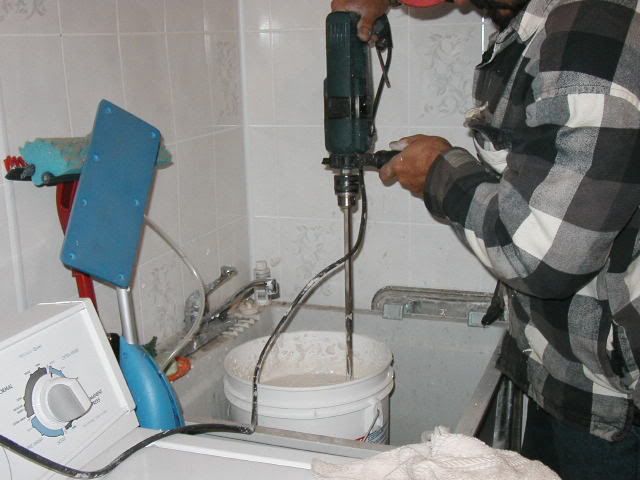
Then hubby mixes up the goop. He uses the hammer drill for mixing, it has plenty of power.
And here is the finished ceiling. It sure did turn out nice.

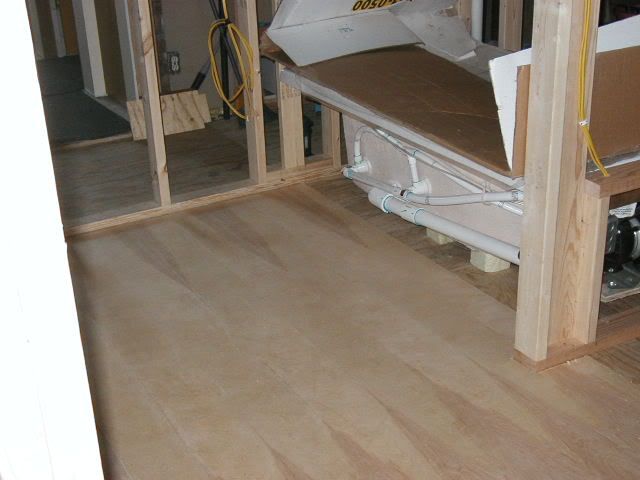
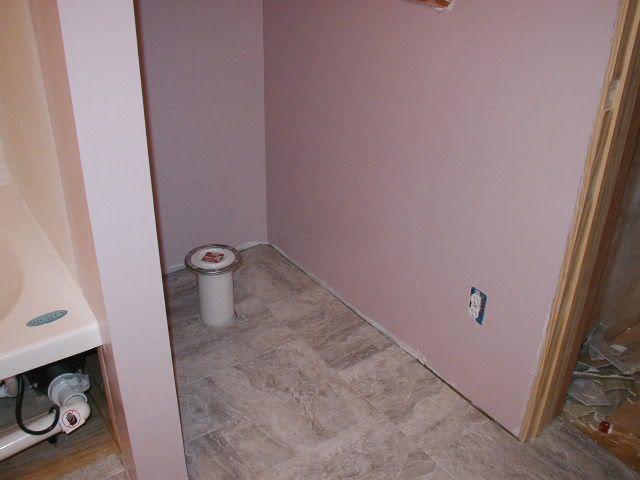
By the last week in October, the room was ready to paint, and the flooring installed. This stuff comes in 16” squares, and is sort of a composite tile material. It can either be installed and grouted, or butted up close and sealed. We decided to skip the grout for this application. I really like this stuff, and it’s not near as cold on the feet as real tile.
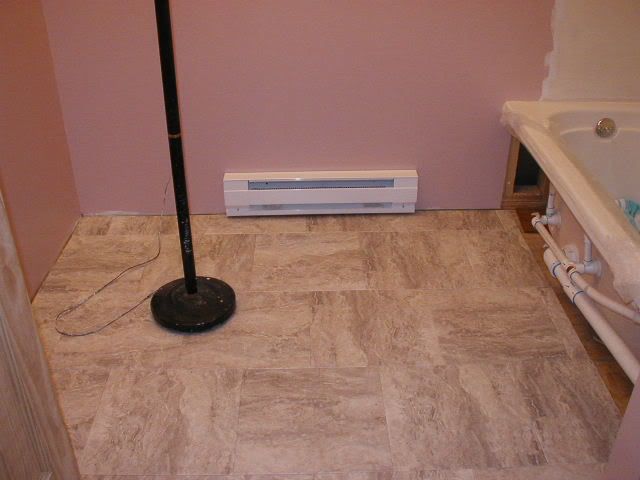
We were one step closer to hooking up our new toilet (though the pipes weren’t connected in the cellar yet).
I took some time off work at the end of the month for the next step – the ceramic tile surround.
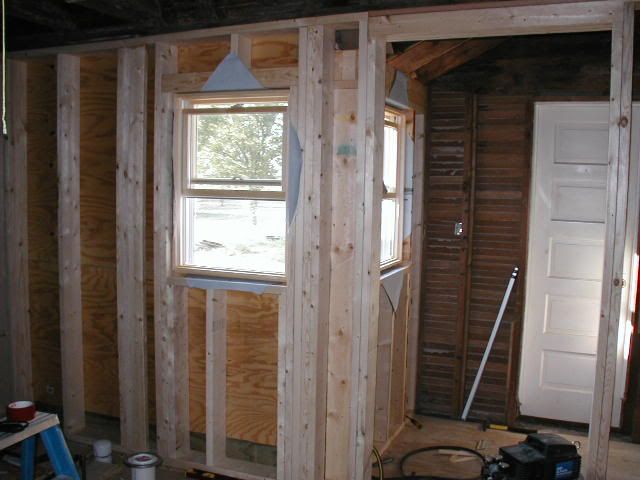
We hauled it in through the window since we still did not have much of an opening to get into the room. We could either crawl through the bathroom window (not a good idea, it’s small and I’m not) or squeeze between the two studs where we opened up the wall behind the water softener.
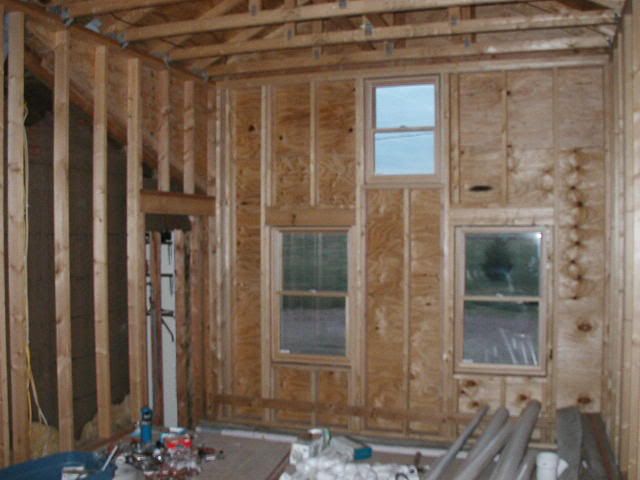
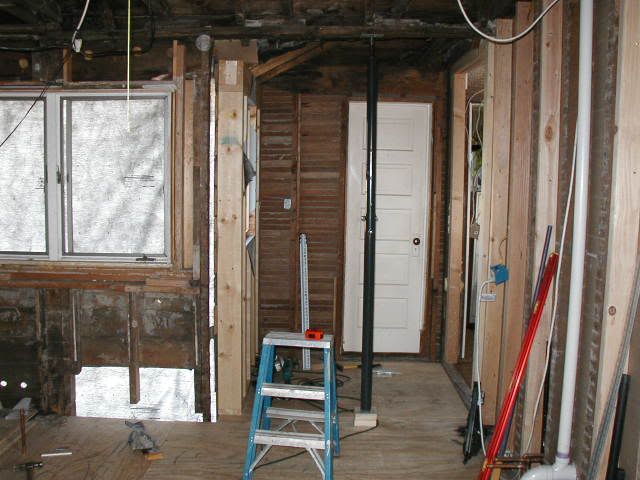
I was thinking, I don’t know if I’ve even showed pictures of the addition from the inside before . . .
This pic shows where the opening between the old and new sections will eventually be. We will also have a door from the laundry room to the basement (you can sort of see where that will be in the picture above.)
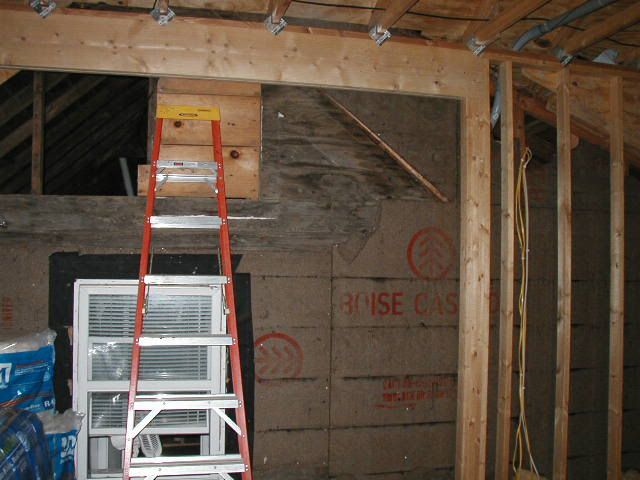
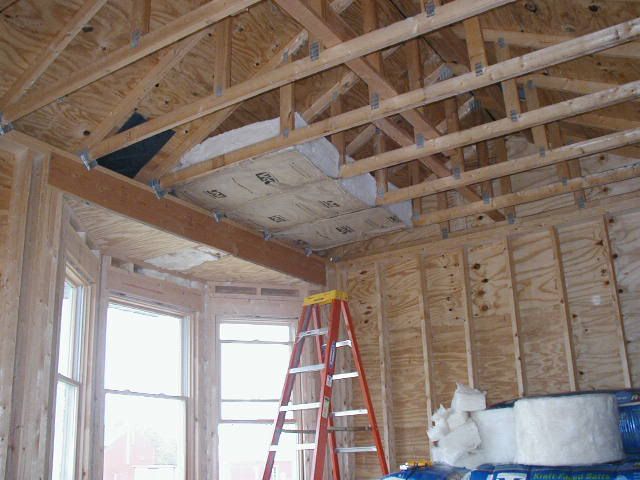
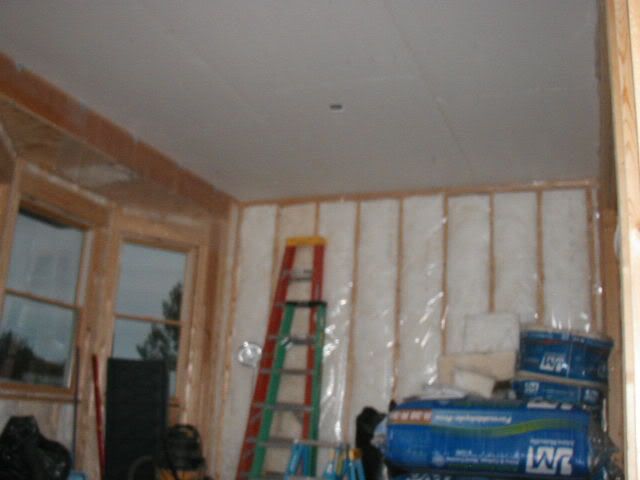
And here is the ceiling, ready for poly and sheetrock.

We got the new ceiling joists up over the new bathroom too.
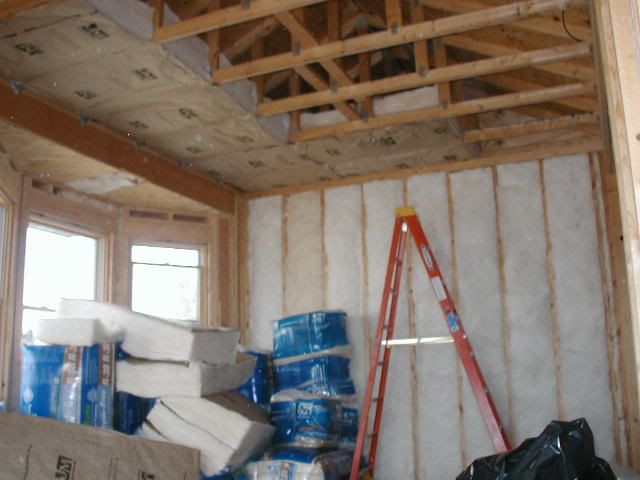
That also got lots of insulation and poly
By the end of September, we were ready to put up sheetrock. We had bought it back in August, and still had it stored in the horse trailer parked in the shop. First we needed to get it hauled in the house, and the only way to get it in the addition was to open up the wall.
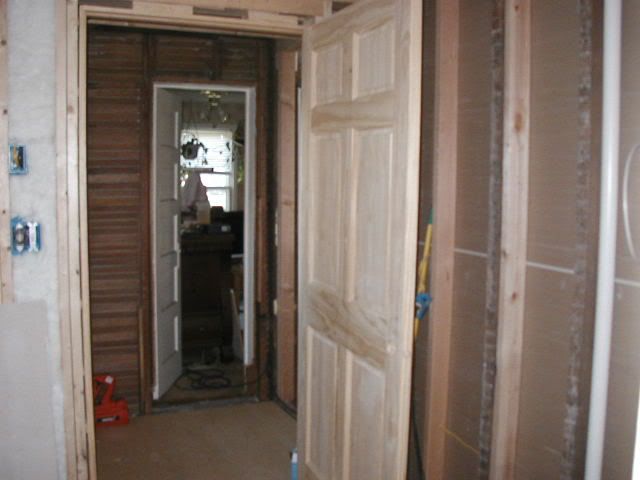
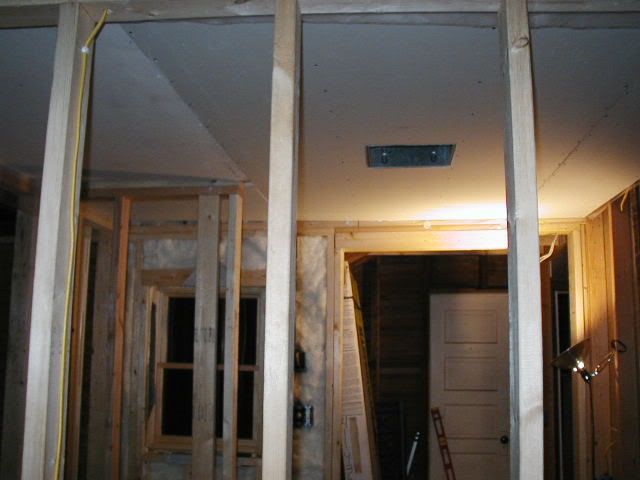
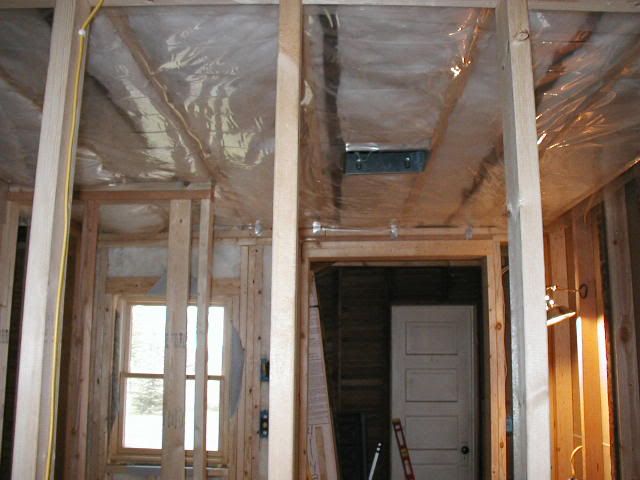
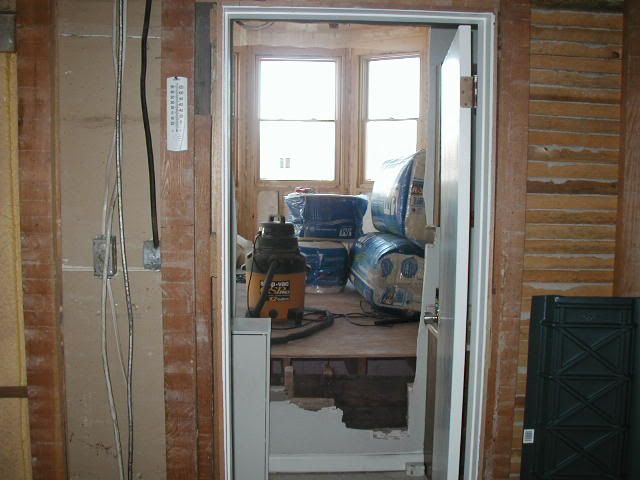
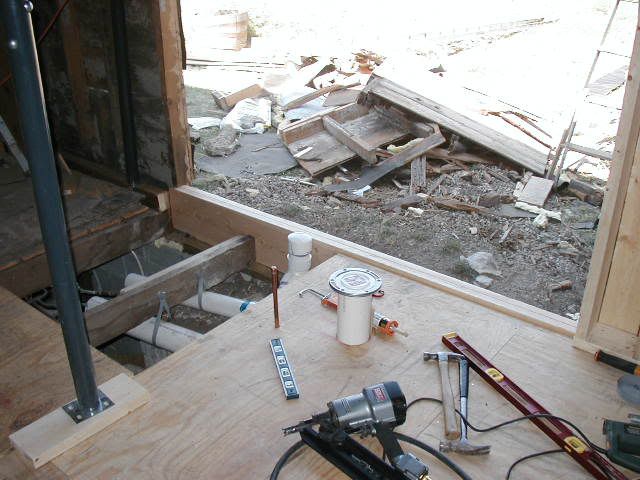
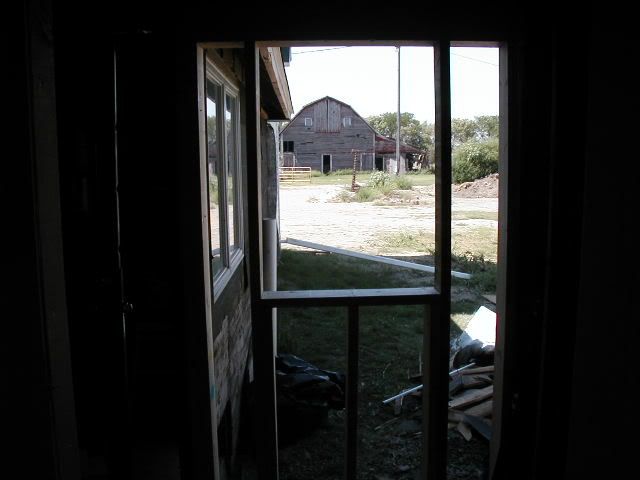
This picture is looking through the bathroom door into the addition, right were the bathroom window (and a chunk of the wall) use to be.
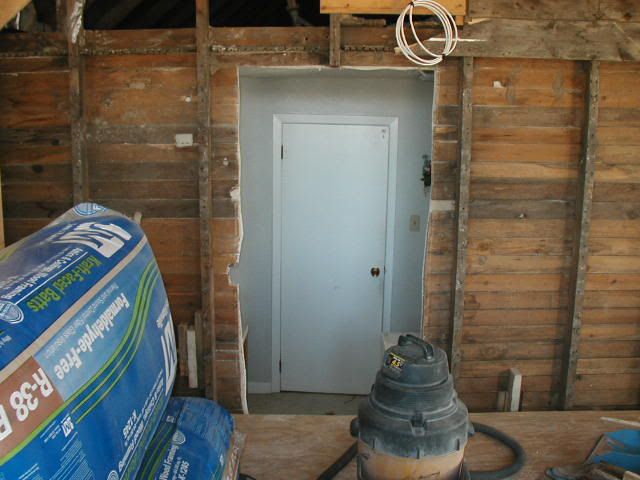
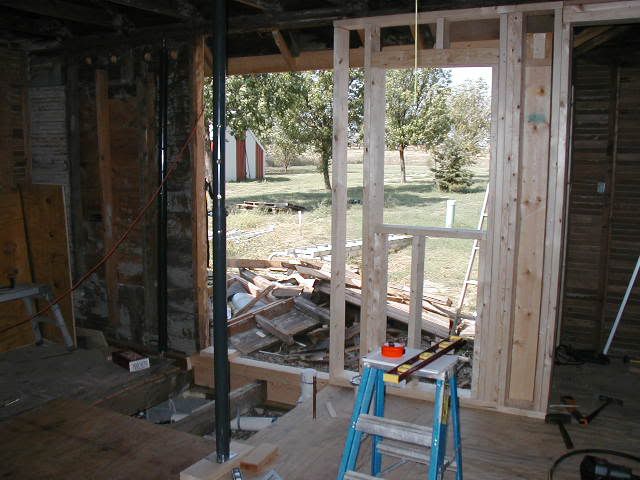
Here is our new opening from the living room side. Eventually that whole wall will be gone, but not until the new bathroom is finished.
But since we were still using the bathroom, I hung up an old quilt for privacy.
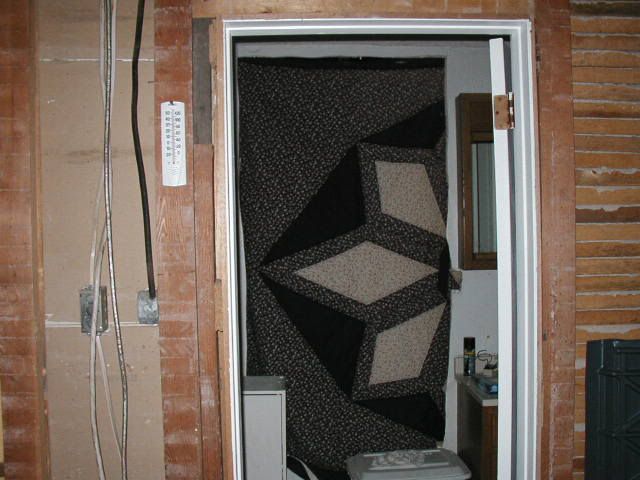
Now we were ready to start putting up sheetrock.
On Sunday, Sept 4th, we worked on framing up the doorway to the bathroom, and getting things ready for building the other wall section the next day. It’s not the type of project you want to start unless you have enough time to get it finished the same day (been there, done that LOL!)
We built the wall in two sections. This was for two reasons – 1. It’s easier, and 2. This is where the divide between the old structure and the part added to connect it to the second structure happens. As it turns out, the wall going toward the second structure is not level along the top, and they sloped it a bit to tie into the second structure. Going the other way it is level. We don’t believe in toe nailing unless there is no other option, so we made two wall sections with different heights.
And closed it up on the outside (ok, we closed it up and THEN installed the window, but I like the pictures in this order better.)

Had to put the tub in place before putting up the last wall or we would never get it in the room.
With the walls up, the next step was the ceiling.
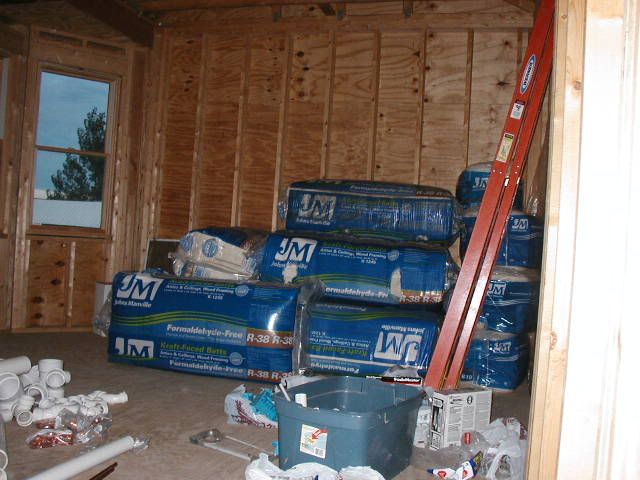
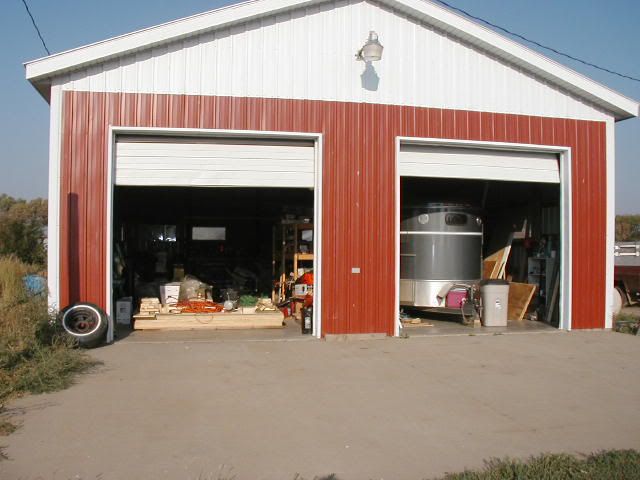
We are now into September. Hubby found out the job he is on may go into December. So much for having any time to get lots done on the house before it gets real cold. I’ve given up on having the bathroom done in another month. After Hurricane Katrina, we bought lumber and sheetrock while the prices were low and it was still available. Don’t know how that will affect building materials in the long run, but we didn’t want to take the chance of getting further into the project and not having the materials to finish. Our shop is pretty crowded right now.
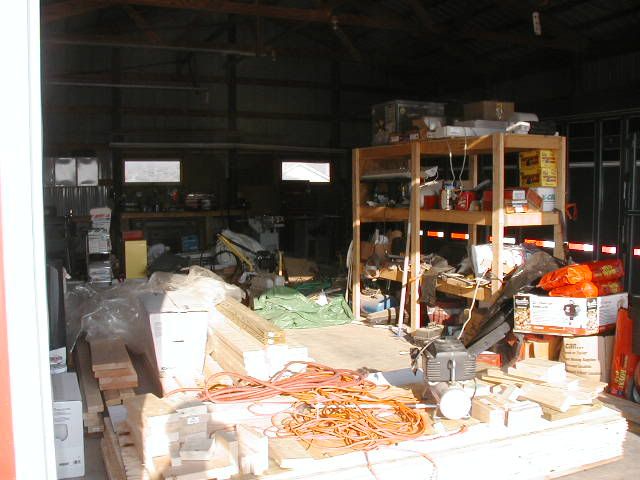
The horse trailer has about 5’ of sheetrock inside. We’ll leave it there until we are ready to use it in the house. Sure don’t want to move that around any more than we have to.
We should have most of what we need to get the house opened to the addition, and get the addition insulated and sheet rocked. Right now it’s just a shell, and we’ll have to get that closed up before winter.
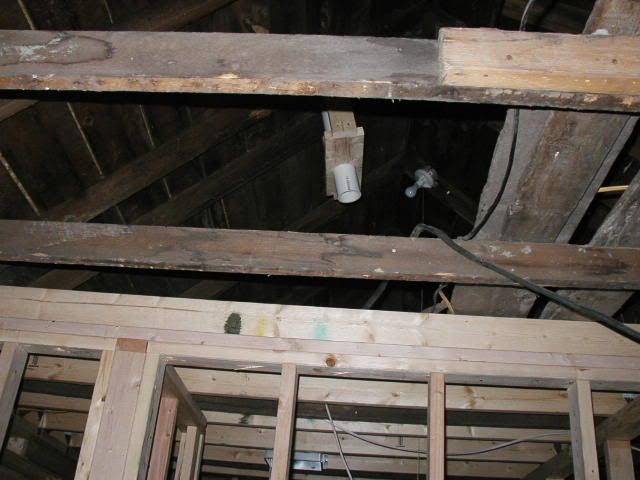
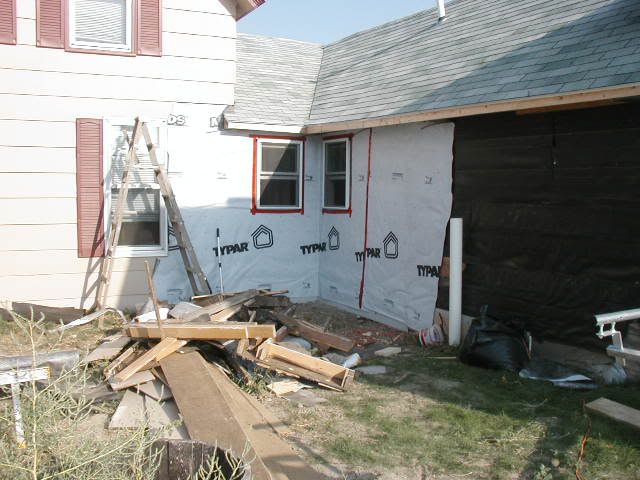
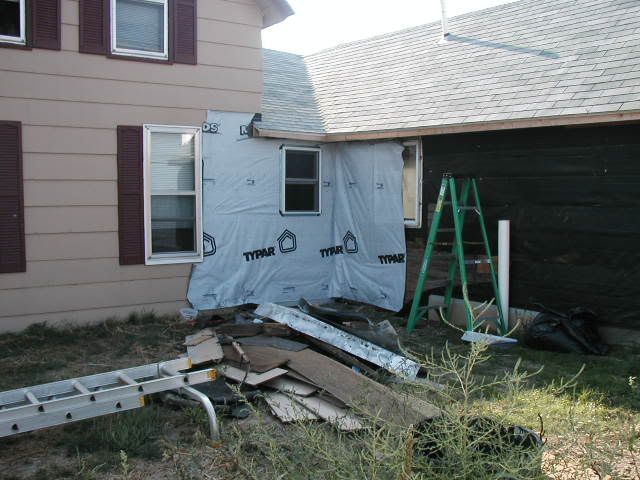
It’s Labor day weekend, that gives us three days to make progress. Saturday we started by replacing the closet wall. Once we had the closet gutted the the studs, we realized we had a problem. At some point in time, there was a serious water leak in this area. While the second roof (that changed the pitch) probably took care of that problem, no one had ever actually fixed the interior damage. It had just been covered up (remember the multiple walls, floors and ceilings?) The exterior wall was so rotted at the bottom, it was only hanging from the roof line. The sill plate was gone and so where the bottom of the studs. We felt the only good option was to rebuild the wall. So we removed the hardboard siding and tar paper, and shoveled out some dirt to get down to the foundation. The opening you see was never closed up; just tar papered over and sided. Of course, there were was a second wall covering it up on the inside.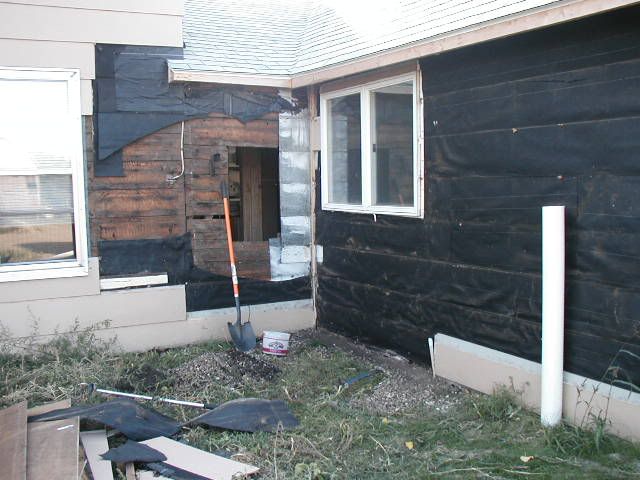
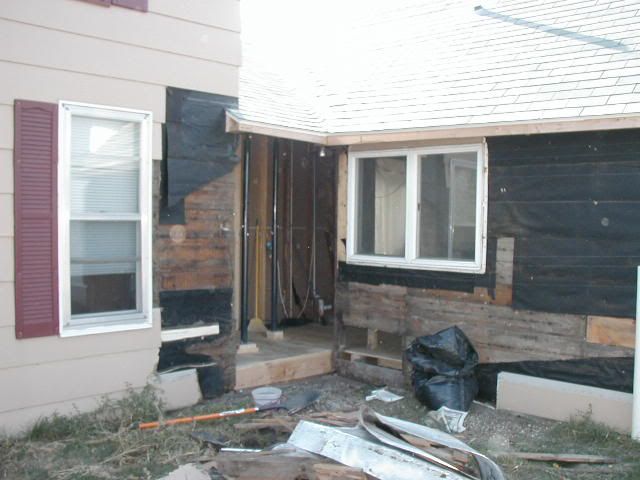
If you look closely, you can see a white line running half way down along the window, on the side away from the tin (the tin appeared to be part of the effort to deal with the water problem). That is an electrical wire (there are two, a white one and a black one). When they converted to electric heat, they ran the 220 wires out the eaves of the roof, down the side of the house (right under the siding) and back into the wall of the two story section. I guess that is how you do it if you can’t get into the walls. That goes to the thermostat, and at the bottom of the wall, the wires exit the house again and run around the perimeter to the heater on the north wall. So, we discovered we have 220 wires running right under the ½ hardboard siding. Sure glad we didn’t decide to just take the reciprocating saw to the wall without first removing the siding. With old houses, you never know just what you’ll find.

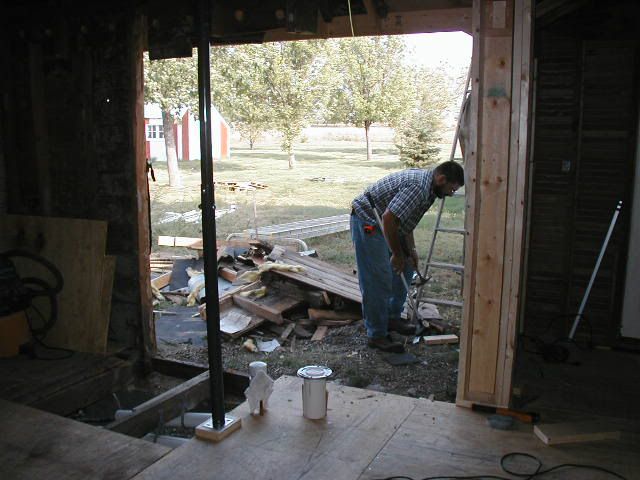
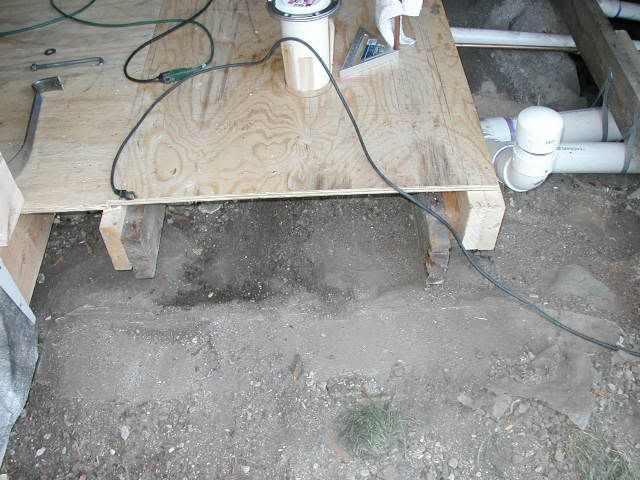
Here is the opening with the sheathing and rotted studs removed, and the new sill, joists and subfloor installed. We had put down the subfloor over the new bathroom area earlier in the week.
The cats though it was really neat. Hubby suggested we put a door there, would be the door to the “men’s room”. I plan on doing some gardening in this corner, so told him I wouldn’t appreciate him “watering” my plants for me.
Got the replacement wall built and installed (ok, pounded into place).
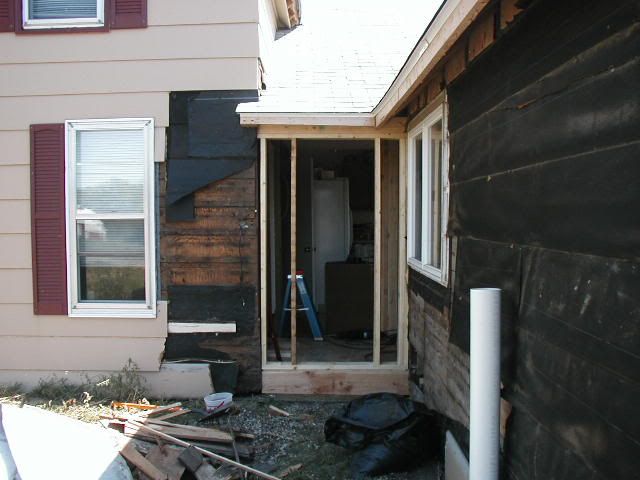
We didn’t put the window sill up because we weren’t certain where "level" would be. So framing for the window was the next step.
At this point, I realized I probably have the window opening too high. I’ll have some figuring to do when we put up the window trim. Planned it all out, and then we ended up cutting the roof rafters back a bit farther (so they would sit flat on the 2x6 wall, since they had been originally cut for a 2x4 wall) and that made the base of the header a bit higher up in the wall . . . Oh well, it will still work. I wanted to have the window as far up the wall as possible.
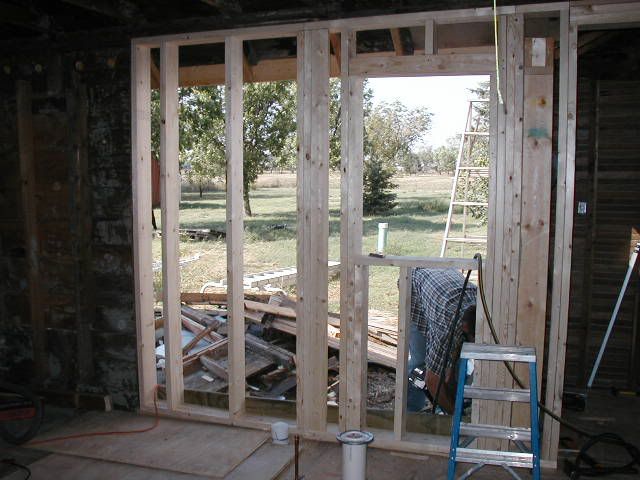
And here is the new wall. We used the old sheathing so it would be the same level as the rest of the wall.
Here it is from the kitchen – actually looks like a hallway now.

And from what will eventually be the bathroom. While we were working on the west wall, we decided we might as well fix the north wall too. Almost none of the studs actually spanned the distance from the floor to the ceiling, and the sill was not in good shape either. We could also make it a 2x6 wall, and since it’s on the north side, more insulation will be nice.
At this point, we don’t have the header up for the doorway yet, so we’ve got our brace poles holding the roofline up. Because there are two roofs over that area, the roofline actually does go all the way to the inside corner. The second roof laps over the first and meets at the outer corner. The cats sure loved the opening in the wall so they could get in and out on their own.

