We were now into October. I had hopes of having the bathroom done by October 1st, but with my husband not having any days off this fall, that didn’t happen. We still had a long way to go.
The next job was to get the bathtub installed. We used a mounting kit and attached it to the studs, and then stubbed in the drain to the old cellar. That would get hooked up when we reran the PVC after we could remove the old toilet. The water pipes would wait until after the fauctets were installed. We would not be putting sheetrock on the back of the walls for some time yet, so would have easy access.
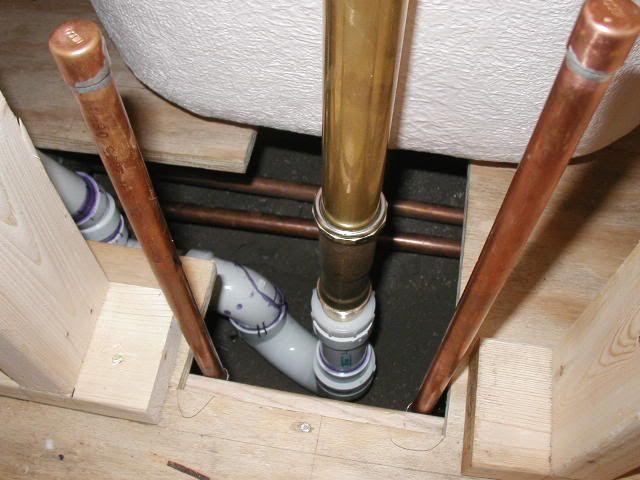


We tried to get a little bit of work done each evening. We knew the weather would eventually turn cold, and really needed to get moving on the project.
We had loaded the water resistant sheetrock in the trailer last, so we hauled that down the basement. The next on the trailer was this new stuff (also water resistant) that was paperless for the around the tub. We put that on both the walls and the ceiling.

Then we were down to the 5/8” sheet rock for the ceiling. We rented the lift and put up the rest of the ceiling in the bathroom and the living room.
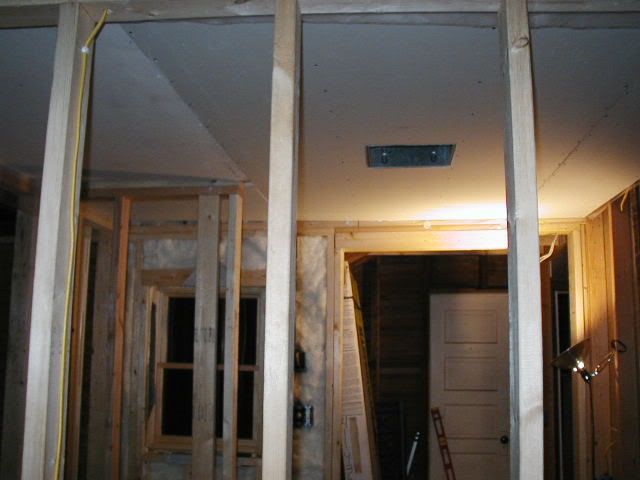
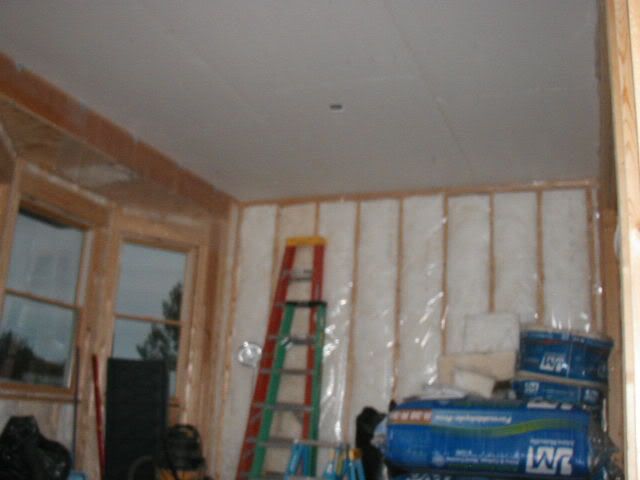
We still had quite a bit of sheetrock for the ceiling (for the hallway and the dining area). Here I got lucky, as our neighbor showed up as we were unloading it. I got to supervise while he and my hubby did the grunt work. They unloaded all the rest of the sheetrock and stacked it out of the way in the living room (the addition).
By the middle of October, we had the sheetrock up in the bathroom, and a start on taping and sanding.
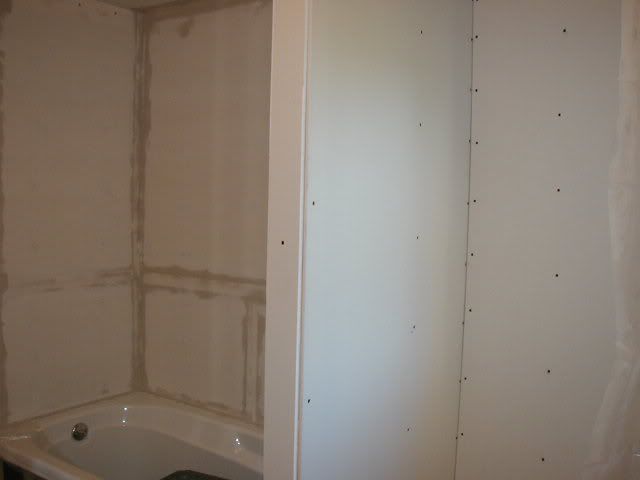

Not the most exciting part of any project, that is for sure! But it eventually got done and I could prime the room. My hubby sprays the ceilings. Once it’s all primed, we hang plastic and tape around what we don’t want sprayed.
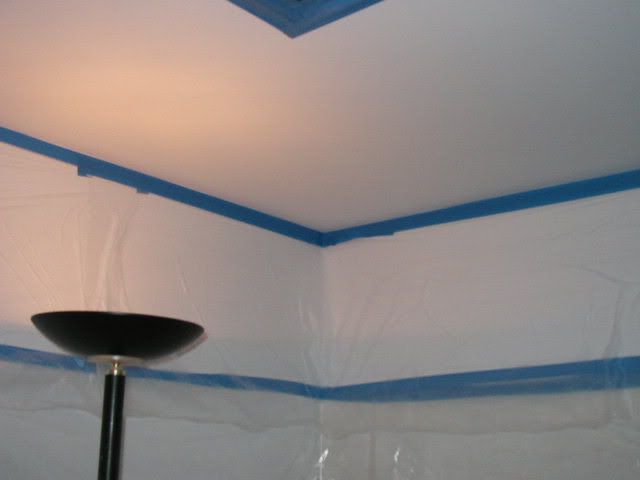
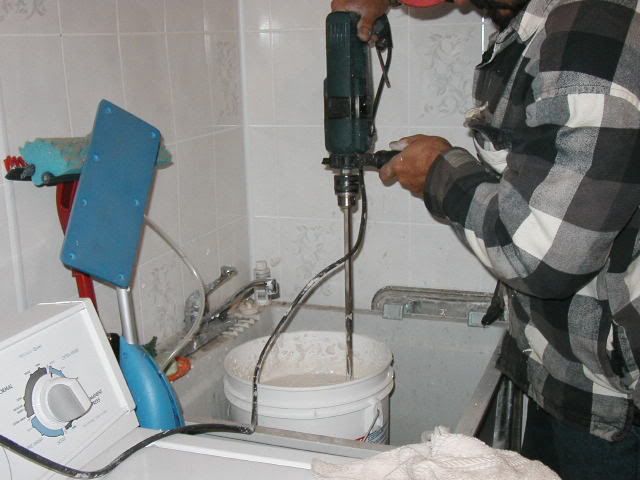
Then hubby mixes up the goop. He uses the hammer drill for mixing, it has plenty of power.
And here is the finished ceiling. It sure did turn out nice.

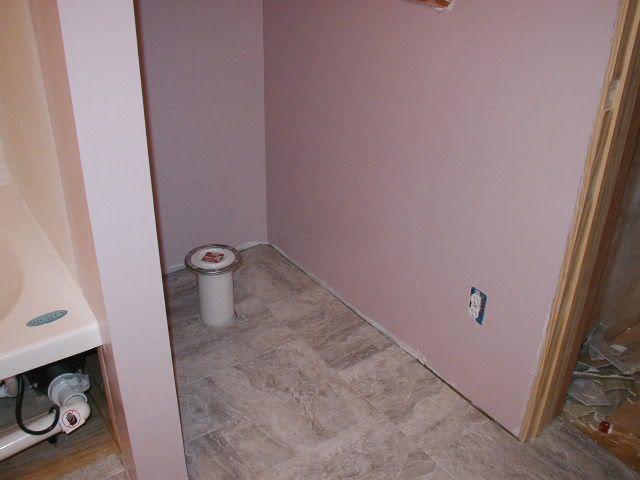
By the last week in October, the room was ready to paint, and the flooring installed. This stuff comes in 16” squares, and is sort of a composite tile material. It can either be installed and grouted, or butted up close and sealed. We decided to skip the grout for this application. I really like this stuff, and it’s not near as cold on the feet as real tile.

We were one step closer to hooking up our new toilet (though the pipes weren’t connected in the cellar yet).
I took some time off work at the end of the month for the next step – the ceramic tile surround.

